Zoom for Teaching Businesses | Automatically Save Zoom Recordings to Google Drive

Working with a team is one of the most important parts of scaling a business to levels that are impossible to reach when operating a one-person business. Education businesses and teaching businesses are no different.
Many online ESL teachers who start teaching English online quickly run into this problem because they build their teaching business around activities that require their personal participation. This is especially true of teaching online English lessons to students via Zoom.
Luckily, with a few quick fixes, anyone can work with a team using Zoom quite efficiently. Let's take a look at a few of the ways that we've been able to leverage the functionality and capabilities of Zoom to manage a team of 20 teachers and reach a revenue of over $180,000 per month with a teaching business that focuses on teaching English online to students around the world (check out that website here).

1. Record via Zoom
One of the greatest features of Zoom is the ability to start recording in just seconds. You can record English lessons for students by changing the settings of your account to automatically record anytime a meeting is launched and then simply launching a new Zoom meeting. The recordings will either be saved in the cloud storage of your Zoom account or they will be saved locally on your computer - you can choose which option you prefer.
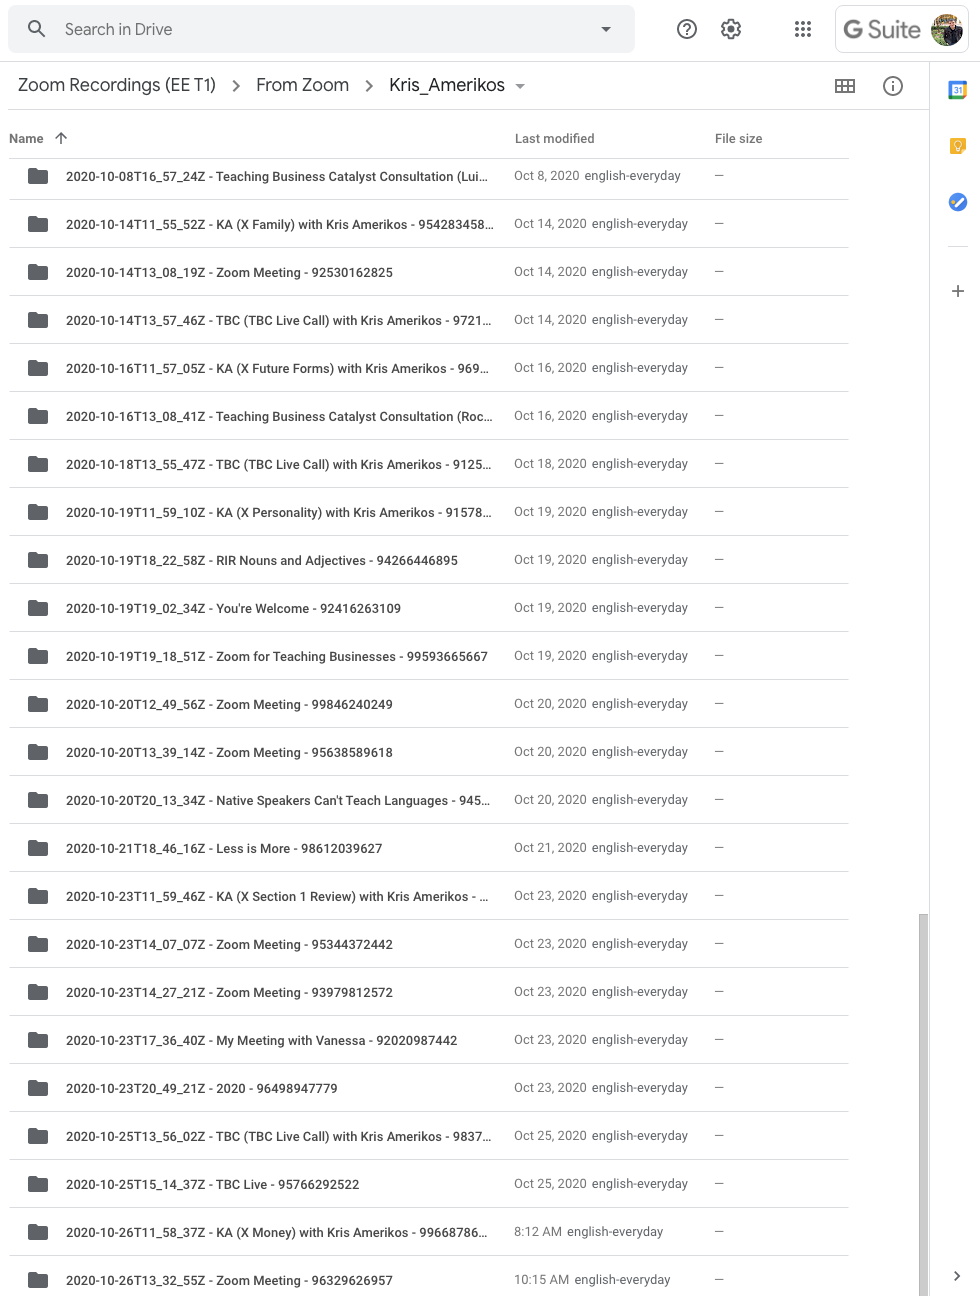
Another option is saving your Zoom recordings directly to Google Drive, Dropbox, Yandex Disk, OneDrive, or other storage services online. This means you don't have to pay for additional cloud storage on Zoom. If you already use Google Workspace (formerly G Suite) for your business, then you've probably got unlimited storage space in Google Drive and automatically transferring your recorded files from Zoom to Google Drive will be a big time saver and money saver.

The best part of this feature is that it works with large teams who have a main Zoom account or "parent" Zoom account, as well as many sub accounts or "child" accounts. This means that every time someone on your team conducts a meeting via Zoom all of the files, video files, audio files, chat files, and audio transcript files, will be automatically sent to your Google Drive account and saved for your future use.

However, this automation is not included in your Zoom account and has to be set up manually by a web developer. We've already solved this problem for businesses and we can implement it for you. Just contact us at [email protected] with the subject line "Zoom recordings automation".
2. Upgrade to Business
Zoom's business level is a little more expensive, but when you're working with a team that includes 10 or more people - it's worth it. Some of the features you get with it include:
- Audio transcripts of your Zoom meetings
- Company branding (so the links to your meetings will be yourcompany.zoom.us)
- Social media streaming (add your logo or brand name to your live streams)
- Up to 300 meeting participants
When you're running an education business that involves Zoom meetings you want to be able to adjust all of the controls for all members of your team quickly and easily. By having one main account and many sub accounts, you can adjust the settings of all of the users associated with your account with just a few clicks. You can limit which, if any, of your teammates can share files, share their screen, turn recording on and off, and much much more.
Let's look inside the Admin section of a Zoom "parent" account:

The Admin Dashboard
The Admin Dashboard inside of your "parent" Zoom account is one of the most powerful tools an education business or teaching business can utilize. The analytics it provides are amazing and can give you insights that can and should influence your business decisions.
The first tab at the top of the screen is the Dashboard tab:

It shows you which of your sub account users are most active, meeting trends, locations that users join meetings from, devices that users join meetings from, operating systems they use, and more.
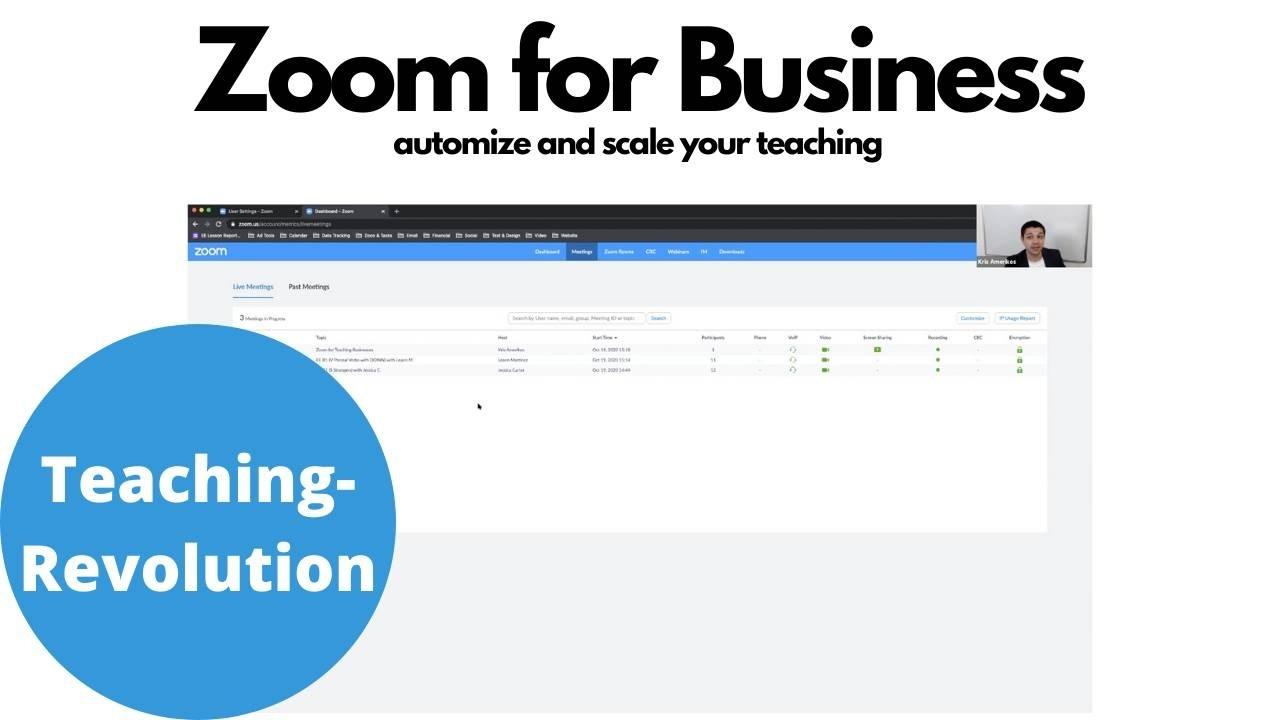
The next tab is the Meetings tab, which consists of Live Meetings and Past Meetings:

The Live Meetings section shows you which meetings are currently in progress. The Past Meetings section shows you which meetings have recently ended. By clicking on a specific meeting, you can view which users are attending the meeting, as well as which device they've joined from, which camera they are using, which microphone they are using, which operating system they are using, and more. Some of our managers have described this as a CIA feature because it's almost creepy how much data you have access to.

This also allows you to check on your team's performance because you can see how long past meetings lasted, if the host shared their screen or not, if breakout rooms were initiated or not, etc. For live meetings it allows you to join a meeting that is in progress as an assistant, which is super helpful if your teammate is having a technical issue or Internet connectivity problems. It also allows you to end the meeting remotely in case the host was accidentally removed or cannot end the meeting for some reason.
User Management
The Users section of Zoom's User Management shows you general information about your main account and each sub account associated with your main account. It tells you each user's role, whether their account is licensed or not, and which department they are part of.

The Role Management section allows you separate users into different roles, which determines what they can access and how they can use their account. Role management is mostly used for admin who need to see more data than a typical user. One strategy is give your head teachers or team leaders access to the Admin Dashboard so that they can join live as an assistant or end meetings in case of technical issues.

There are standard roles available, but you can also create your own roles. In the screenshot above you can see custom roles, such as Inner Circle, Support Hero, Teacher Team Leader, and COO.
Account Management
The first section of Zoom's Account Management is the Account Overview. This gives you basic information about your account.

The next section is Account Settings. This is where you can adjust settings for all of the users associated with your account and decide if you want settings to be open for users to adjust themselves or if you want to force changes on all of your accounts.
This screenshot demonstrates that waiting rooms are turned off, while meeting passcode is turned on. Each of these settings has a lock icon next to it. When the lock is turned on (as it is in this screenshot) that means all sub accounts will be forced to used this setting. If the lock is turned off, then sub accounts will be able to adjust this setting themselves.
Advanced
The Advanced tab is where things get really technical. In the Branding section you can add HTML and CSS to further stylize and customize your account. But one of my favorites parts of the Branding section is Meetings. At the top it gives you the option to force your branding settings on all of your associated accounts, which you definitely want to take advantage of.

It also gives you the option to automatically redirect participants to a specific URL when the meeting ends. This can be extremely useful when you want your students to give you feedback after your lessons because you can send them to a page on your website where they can leave feedback. We have used this feature to collect students' opinions about our teachers' lesson performance and how useful students believe the lessons to be.
3. Assign Scheduling Privileges

From inside the Admin tab click on User Management and then Users to view the list of accounts associated with your "parent" account. Choose one of your users, click on Settings, select Meetings, and then scroll down to the Other section.

Here you will see Scheduling Privilege.

By clicking "+" you can assign scheduling privileges to other accounts. This means that the accounts with scheduling privileges for this particular user are able to view the user's upcoming meetings, view data about the user's meetings in the Admin Dashboard, and can create new meetings for this user.
When you work with a large team it's important to delegate tasks and assigning scheduling privileges to teacher team leaders or other admin is one way to reduce the number of tasks you and your top management are required to handle yourself.
Bringing it all together
In this short text we've really just scratched the surface of what Zoom allows you to do for your teaching business or education business, especially when working with a team of teachers or small team of live meeting hosts. We've highlighted some of the major benefits of using Zoom to teach English online and getting the most out of the money you spend on paid Zoom accounts.
We would love to hear what you think about using Zoom for teaching ESL online or teaching other subject online. Please leave a comment below with your opinions, comments, or inquiries about other Zoom features and we can continue the discussion!
